I found these cloth napkins at my local Home Goods and fell in love with the pattern and colors. I thought they would be perfect for adding some subtle Fall colors to my outdoor patio. They came in a package of 4 for $9.99. I decided to make them into pillows, using “Natalie method”. I have never taken the time, nor do I have the patience, to sit down and sew, so this method of making pillows works perfect for me! Below are they cloth napkins that I chose. They are 20″ in size.

There are really only 3 steps to making these pillows. Iron, glue, and stuff…so simple. This Fabri Tac glue is my favorite glue of all time. It does have an odor but works like a dream to seal up fabric. It also works for so many other things. I have mostly used it with upholstery projects to add trim and then projects such as these. I’ve had questions about whether or not I have washed my pillows after gluing them and I have not. One bottle lasts for many projects, so the cost is worth it when weighing all of the projects that can be completed with just one bottle.

I put a small line of glue all along the edge of the napkin, completing one side at a time so that I would not accidentally get glue on other parts of the pillow while sealing the sides together. I held each area for about 30 seconds. I left about 5 inches on one side of the pillow unsealed with no glue until after I had it stuffed. After each side was glued, I let the “pillow” sit for about 30 minutes before I stuffed it, just to make sure it was dry. I used this Poly Fil stuffing. And then after it was stuffed to my desire, I sealed up the area that I had left open to stuff the pillow.

I love the way that they turned out and they allow for just the amount of color pop that I was looking for out here on my back patio. In the past, I have also made pillows out of 2-ply placemats. These are even easier, if that is possible. All I had to do to the 2-ply placemats was to tear out a small section on one side of the stitching, stuff the pillow with Poly Fil and then seal that small section back up with the same Fabri Tac glue. That small section then no longer has stitching but it’s so small that no one will ever be able to tell. I love that this is a “cheaper” way to make myself some pillows, as we all know that throw pillows can sometimes cost half of our paycheck. I would love for you to comment below of what you think of my “napkin pillows”. And if you make some for yourself, please tag me on Instagram (@vintageporch), I would love to see them!

I love this 5′ table that I made into an 8″ farmhouse table. The before and after is amazing and I’m so happy with the finished look and how great my diy chalk paint that I used holds up outdoors.
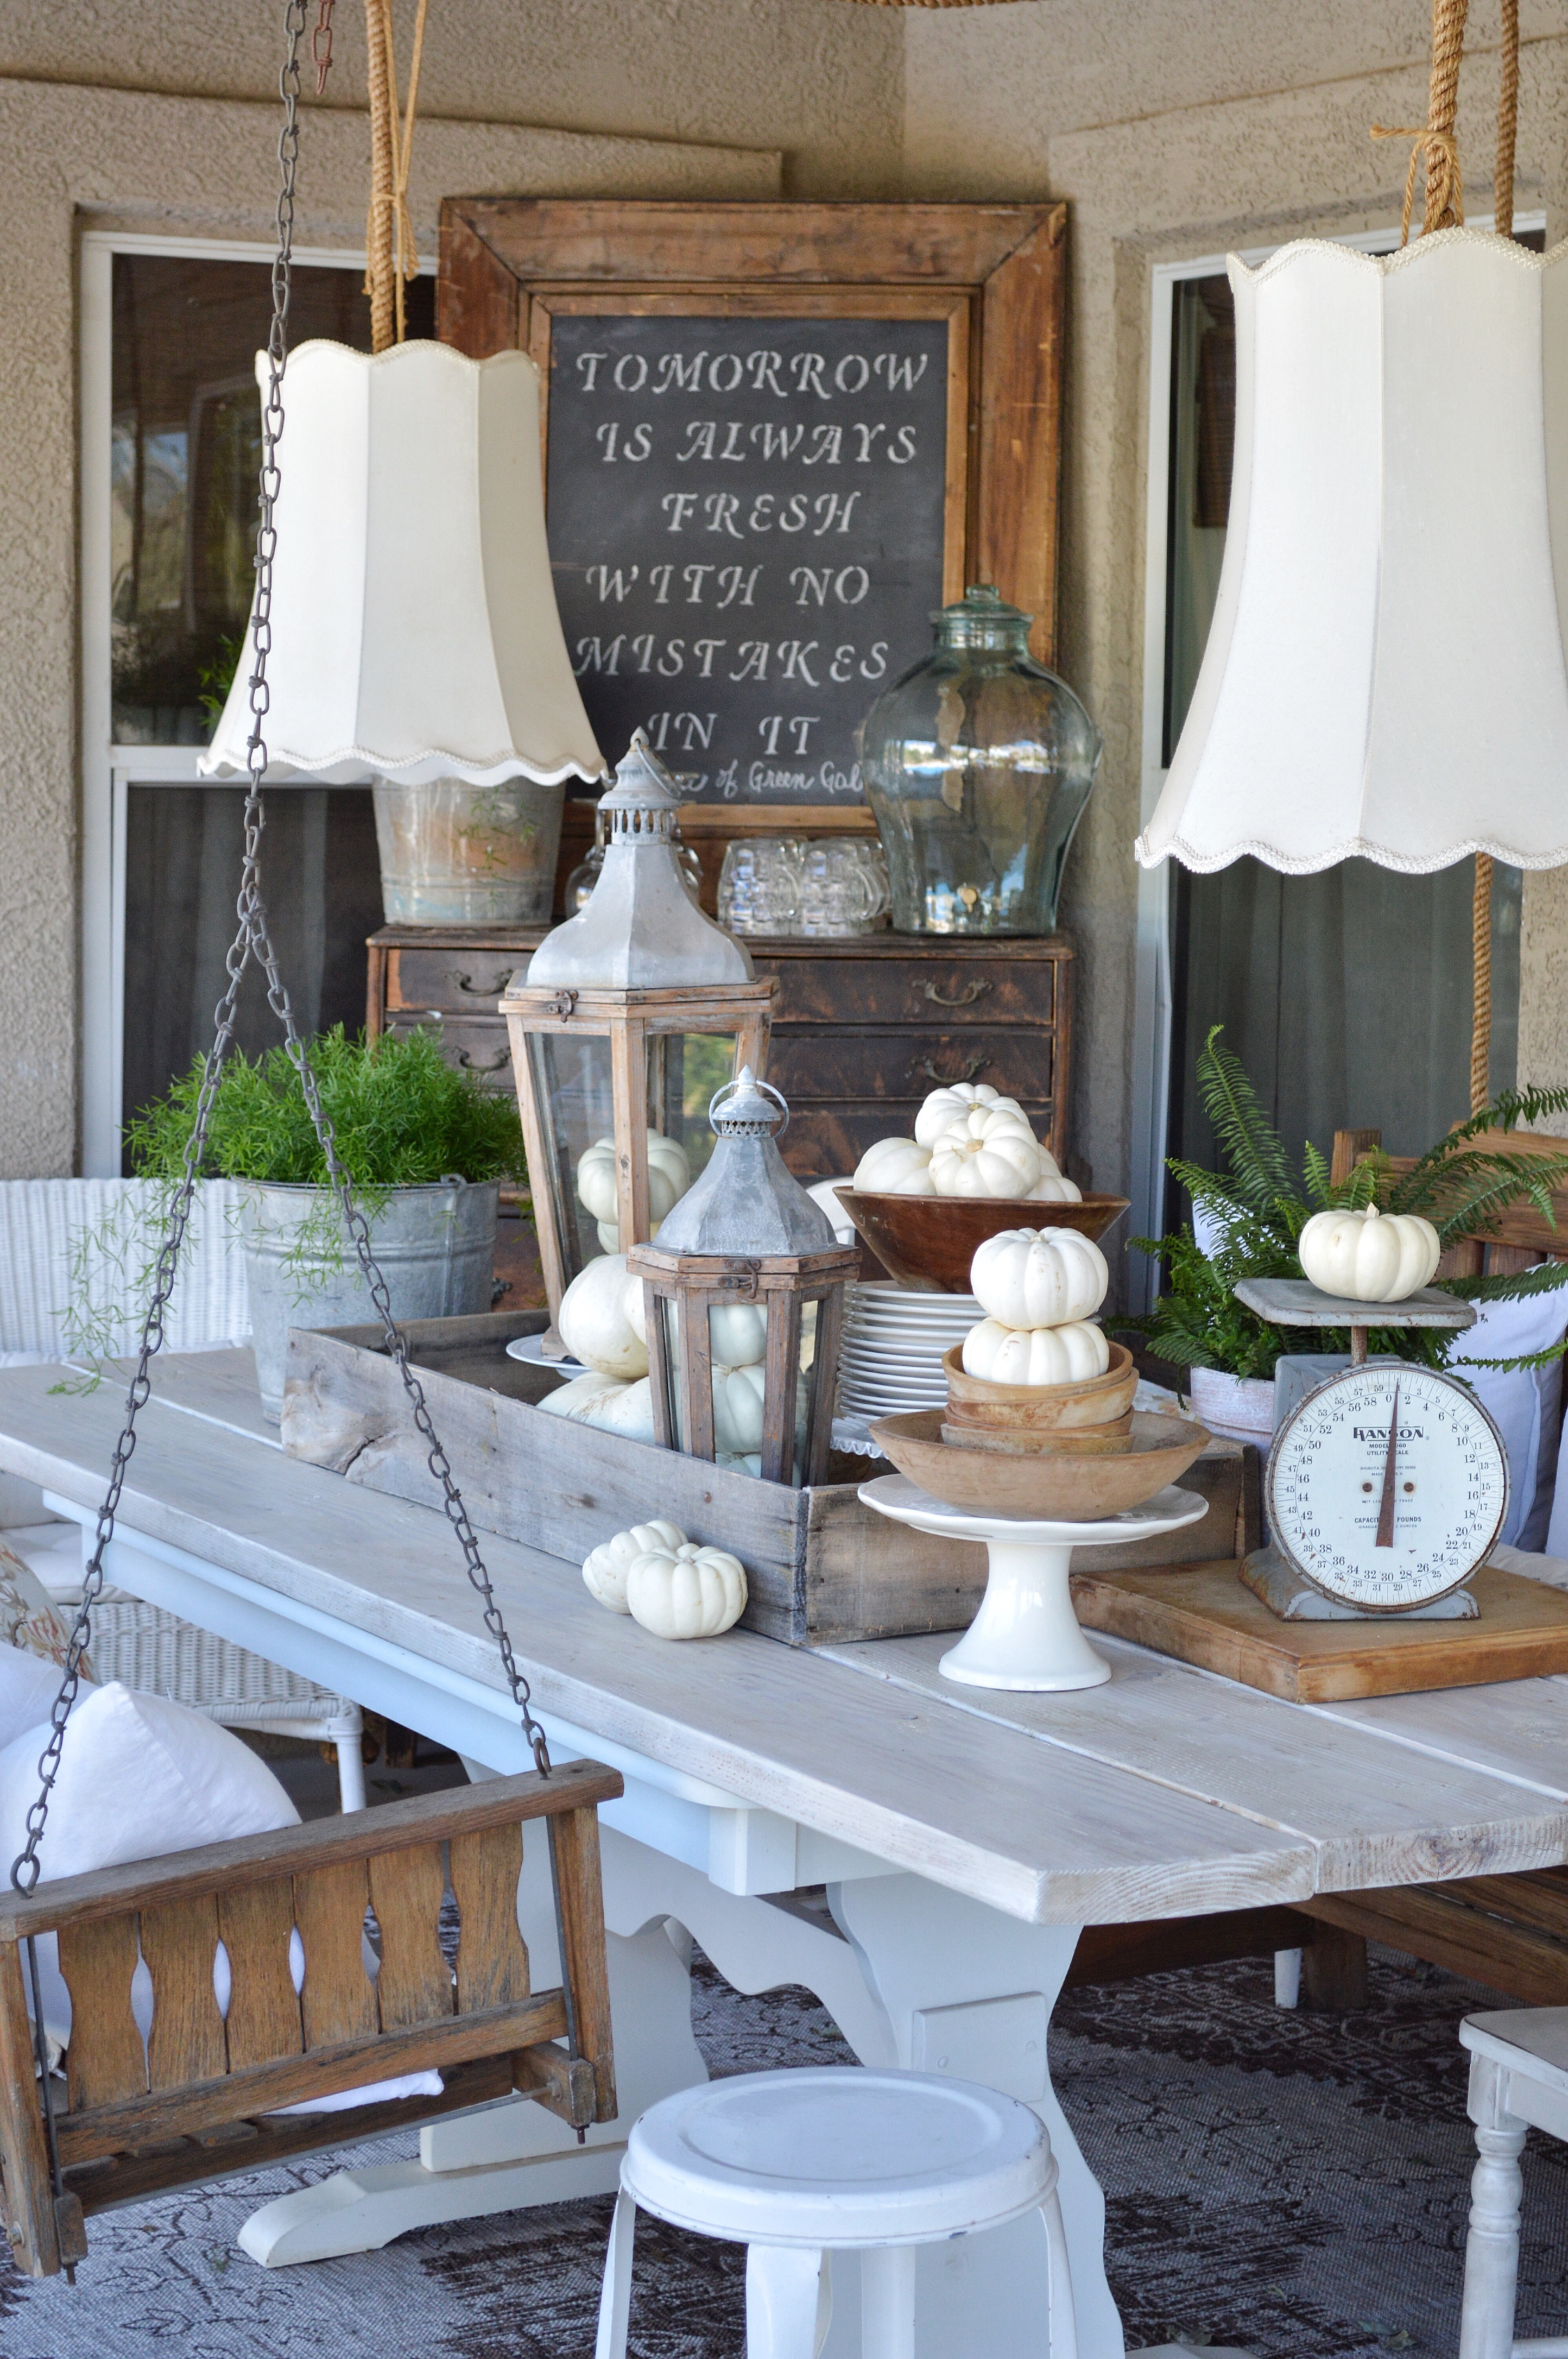


You can find a more detailed source list of this space from my post, “My Spring Vintage Porch”. Have a wonderful day and thank you for stopping by!
Affiliate links were used in this post to assist with finding products used and/or home decor. I only use companies that I trust.


You’re so creative and talented! You always inspire me to look for the “potential” of an item. And I hate sewing…. so win win 😉
Yay, yes win win! Thank you Kirsten!
Thank you so much Kirsten! ?
Love them!! I made some for Christmas last year this way! Sooooo much cheaper!
Thank you so much Jonna! That’s awesome! They are so budget friendly for sure.
Yes! So awesome!
Thank you so much for this idea. I had these huge placemats I had no idea what to do with. They made lovely pillows for the porch furniture.
That is so awesome, Lynda! I would love to see them!
Hi! I love this idea!!!!!! I was wondering if you’d be able to tell me about how many pillows the 20 oz bag fills (approximately, I know it differs depending on how fluffy you like your pillows etc.)…I want to make sure I buy enough for at least 2!
Thank you (:
I’m not sure I’m sorry, I just buy it and stuff them. ❤️
I’m a big fan of using placemats and napkins to make pillows! Now I can do it without sewing thanks to your tip about the glue. I never imagined it would hold it together so well! Thanks for the tip!
So awesome! They are so fun to make!
Beautiful idea. I wanna try for sure. I was wondering if you would like to make a video on how to make the pillows.?
Thank you!!
There is iron-on tape on the market, so no waiting on liquid glue to dry. ????
I’ve tried the iron on tape and I don’t think it works as well…the glue dries super fast. 🙂
Could you have someone record you while you make some one day. So we can watch it step by step.
Natalie your pillows are gorgeous! I’m going to try to make them for the first time, but how do you stuff them so they aren’t lumpy? I’ve never made pillows before. Any tips would be appreciated!!
Thank you Nicole, I just had to work it around alot.
Can you unglue and pull the filling out and re glue when you want to use the same fabric again. So much easier than getting the sewing machine out. Thank you for sharing!
Did u make your chalk board in these pictures? If so, do u talk about it somewhere?
Yes, It’s on my IG feed on the photo of my daughter marking off the bucket list on the chalkboard.
I love all of your decor ideas! I am going to make your no-sew pillows this week. How did you make your big chalk board, the board part? Also, the small one you have outside on your back porch? Love everything!!!
Thank you so much Sonja! I just painted chalkboard paint on our actual wall. And the one outside, I turned an old mirror around and used the backside for a chalkboard. I love it! Aren’t the pillows to fun to make?!
Natalie, do you ever have to re-glue sections of the pillow? At first I think I was over stuffing. But now I think I’m stuffing them a pretty normal amount, and I hold the glue seem for 30 seconds. Maybe I just got less glue in one area. I still love my new pillows. Thanks for the DIY tutorial. Also, shout out from Indiana. Didn’t you say you were from Indiana? I saw your ND hat on your stories the other day & got so excited.
Hi Lindy! I have never had to reglue but a few times I have laid something heavier on the seam until it was completely dry. That might help. Yes, I’m from IN! Go Hoosiers!
Makes me wish I had the bag of napkins and placemats that i just sent to Goodwill! Aargh! Love them….but I DO wonder, how you have time to do all you do!!!???? hope your neck is better!
Thank you Jean, I’ve had that same experience before too where I wish I hadn’t gotten rid of something.
You and your projects are my type of inspo!!!! Love this and I too do not have the patience or the want to sit down and sew.
These are beautiful!
Thank you so much Tami! Glue is my thing ????????????
Thank you Tami! I hope you make some!
I think those are great. Im going to try to make some. Pillows can be costly. I need some for my patio.
Yes they can be so expensive for sure