
I don’t have a lot of money to spend on home decor, especially this year with all of the medical bills rolling in. And if you are looking for pumpkins in Tucson, Arizona, be ready to wait until Fall is almost over, lol. Most stores don’t have real pumpkins until well into the Fall season, so I decided that I was going to make my own pumpkins this year and I was bound and determined to do it the “cheap” way. I started off by heading to the Dollar Tree store and picked up these foam pumpkins for $1 each. They are hideous, right?! I had all of the other supplies on hand which made this a super easy and budget friendly project for me.

I started off by using my chalk paint recipe to paint them all white. This hides all of the orange from possibly showing through in the end. I should have pulled off all of the faux stems at this point but I didn’t decide to use wood stems until later on in the process.

I then used these small tubes of acrylic paint that you can get at any craft store for super cheap to paint the rest of the painting technique on each pumpkin. I believe these tubes of paint are only .50 at Walmart. What a steal! For the greyish blue look, I used these two colors. The granite grey has a slight blue cast. I just mixed them together to the desired look I wanted on the pumpkin and then dry brushed them on. For dry brushing, I would just take some paint on the end of a smaller tip paint brush and then wipe most of it off on a paper towel and then brush the rest down the pumpkin in the direction of the groves on the pumpkin. This helps so that the paint shows the color underneath when dry brushing. Then I used white and grey separately with the dry brush technique and then back to using the mixed color, until I had the look that I wanted. Dry brushing different colors gives the pumpkins more dimension.

To gain a little dimension on the white pumpkins, I used this Tan color and dry brushed it down the groves of the pumpkin. I then painted the whole pumpkin with white acrylic paint, while only dry brushing over the Tan stripes. It hides the “fake” looking Tan lines but still gives a little “shadowing” look in the groves for a more natural look.

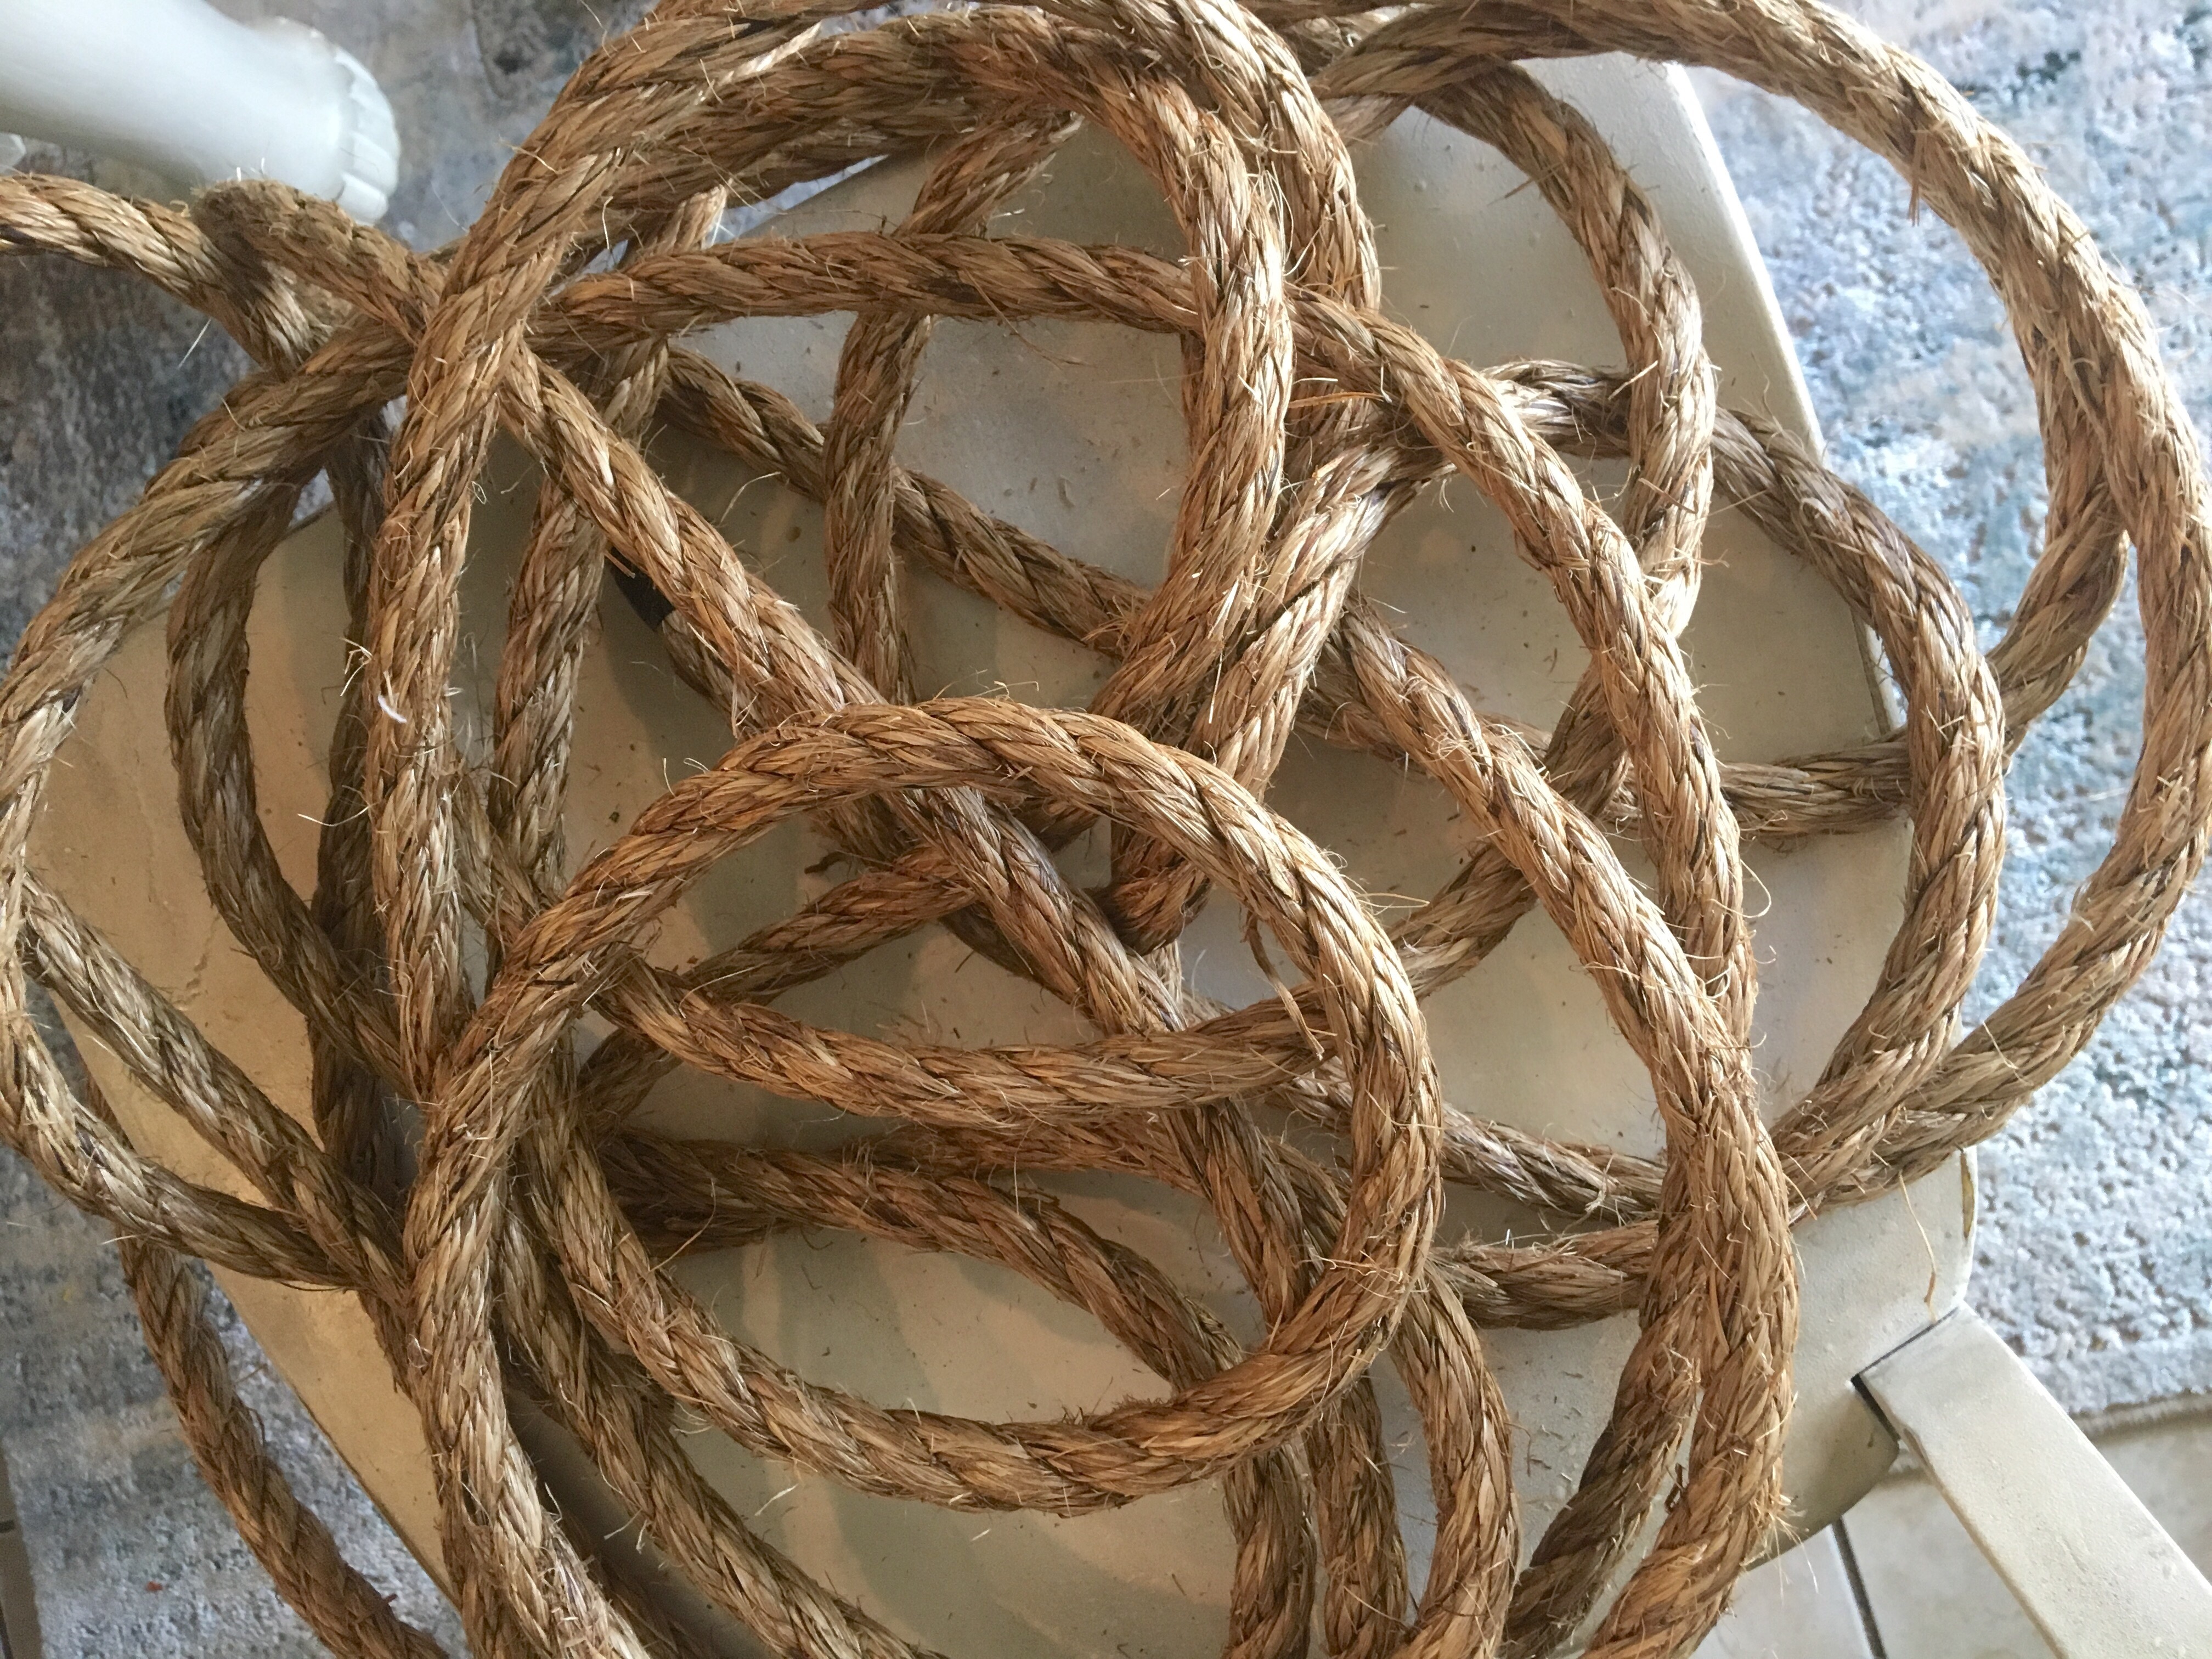
Now for the stems…I used this rope for a few. You can find this at Home Depot or Lowes in the bulk rope section and if you are only buying a small portion, it is very affordable. It would also be possible to use jute twine. I had mine from a previous project, that is why I have so much of it. My hubs cut some off for me in pieces about 2 inches long and then I unraveled it and glued it together with modge podge (so that it wouldn’t be stringy). I then used hot glue to glue one of the ends around the stem. I used a little more modge podge to hold it together and give it a little curl at the top, while using a chip clip to hold it until it was dry. The modge podge I used dried clear so I didn’t have to worry about it showing up in the end.
I don’t have the green one in my photo but these are the colors I used to get the green look (dark grey, holiday green, black, and white). I used the black to dry brush lines after I went over them with a mixture of the green and white and then the green, white, and grey mixture. I don’t really have a specific amount that I mixed together of each color. I just mixed in each color one at a time until I had my desired color. I then dry brushed it with the mixtures over the dry brushed black lines, altenating the colors until I had the look that I wanted. This is kind of the fun part because you can play with the colors that you are using and try different mixtures. 
I thought it would be fun to have some different looking stems so I had my hubs cut me up a thicker stick from our wood pile to use on some of them and I hot glued them to the top. And here they are! I I love them so much. I absolutely love how they turned out and the best part to me is that they only cost me $1 each. And if you see the ones in the background, I just stacked those and left the bottom one without a stem. The one on top of the stack, I made last year and used bolts from my dad’s farm for the stem. You can find that tutorial here.


I hope to see lots of your cute Dollar Tree pumpkins floating around out there. Please tag me on Instagram, @vintageporch, so I don’t miss them! Happy Fall my friends!
Source List:
Wood Sign: Harper Grace
Sofa: Ikea
Antler Pillow: Indigo and Tangerine
Other Pillows: Ikea
Pumpkins: Dollar Tree DIY
Old Trunk: Craigslist
Candle Sticks: Thrift Store and painted and distressed with my chalk paint recipe and added vintage jewels
Crocks: Craigslist, thrift stores, and garage sales
Wood Pieces: picked up outside and painted white with chalk paint
Apple Orchard Pillow on Desk Chair: The Sea Foam Cottage
8×10 Jute Rug: eSaleRugs
Rug on Jute Rug: Wild Shaman
I have used affiliate links in this post to assist you in easier finding of supplies or home decor that is displayed. All opinions are my own and I only suggest products that I trust.


Love them!!! I actually did the same thing with the exact same pumpkins from Dollar Tree. I have a blog post planned for them next week. I guess great minds think alike 🙂
Yay! That’s awesome! Can’t wait to see yours!
Love this idea and love how inexpensive you did it too! I love the greens you have around the pumpkins… what is it called and where can I find some? TIA
Thank you Lori! I plucked the greens off of a faux plant from IKEA
These are super cute. So creative and wow $1 makes them even cuter lol! Have a great rest of the week.
xoxo
Kris
Thank you so much Kris! You too! ?
Did you make the large sign hanging the wall or purchase? I must have it! Lol
It’s so amazing, right? It’s from @harpergrayce I also linked it in my post if you tap on her name it will take you to her site.
I am a new crafter and found it really hard to cover the whole pumkin evenly and smoothly, any tips for that?
Hi Jennifer, I painted the whole pumpkin first with white chalk paint so the underneath color wouldn’t show through and then I dry brushed over that, Does that help at all?
It does, thank you! and maybe Im just not a skilled painter…. I just had trouble painting the pumpkin without making a mess. 😉 I think I should let half of the pumpkin dry before I start the other side to avoid finger marks etc.
For the pumpkin on the mantle on this pic, what type of fabric did you use to cover the pumpki? Such a cute idea!!
I’m sorry, which photo is that? I don’t have a mantle on this post and I can’t see a photo here.
It is the pumpkin on your mantle by your big sign, its wrapped with a piece of jute!. 🙂 Not sure if this is the direct link to that exact pic or not.
https://i0.wp.com/www.myvintageporch.com/wp-content/uploads/2017/09/img_0375.jpg?ssl=1
Oh ok, I know which one you are talking about now. In the post I wrote that I was linking the post to those pumpkins that I did last year and if you just click on that link it will take you right to the post. ?
Thank you so much! Ill check that out. 🙂
How fun! I’m definitely going to try this!
Awesome! Can’t wait to see yours!
Could you tell me the dimensions of the tray you have your pumpkin sitting on? I made my pumpkins and love them, but I think they look plain just sitting directly on the table….
I’ll post a pick and tag you later.
Sure I will measure soon. ?
simply gorgeous!!!!
Thank you so much, Angela!